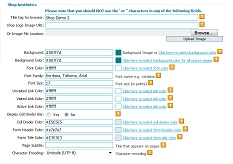
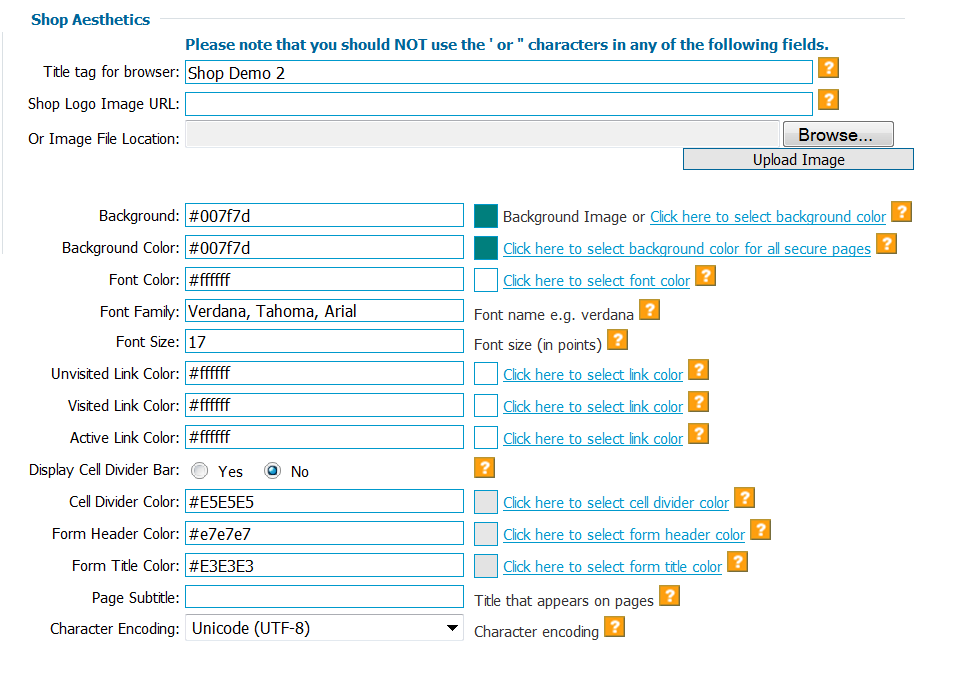
Shop Aesthetics
Under the Shop Aesthetics, there are many
fields which help you customize your shop look. The shopping cart
is customizable so your shop has a unique look and feel. There are many
different sections here that you can use, or if you choose, you can leave blank.
Manage > General Settings
|
|
(Click here for larger image)
|
Title Tag Field
The shopping cart uses the "Title tag for browser" when displaying the shop
categories and items. It will display this text between the tags on the shop
page that is being displayed. Since the title tag is a critical factor used by
search engines in determining the relevance of a page to a specific search, then
you should make sure to use a relevant title tag.
When displaying a category of items, the shopping cart will automatically
propagate the category name to the title tag in order to increase the relevance
of the title tag. Similarly, when the shopping cart displays one specific item
it will automatically
propagate
the item name to the title tag in order to make the title tag as relevant as
possible to the information being displayed.
The title tag field value is not used if you are using the "Custom HTML Header".
If you are using the "Custom HTML Header", then within that area you would want
to include the HTML for a title tag. The shopping cart will automatically
propagate
the category or item name there also.
|
|
(Click here for larger image)
|
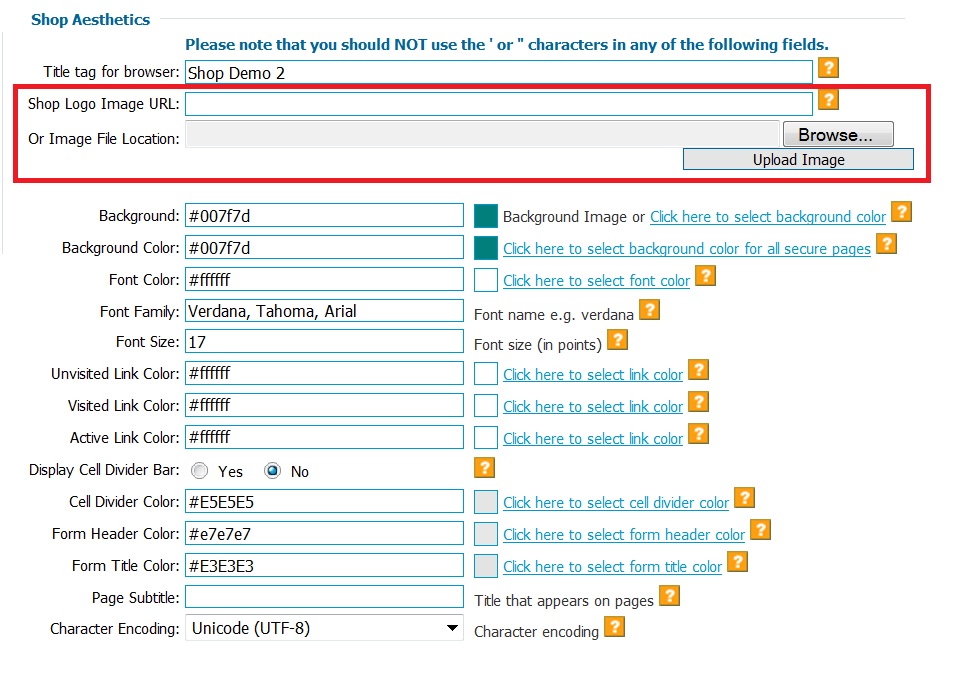
Shop Logo
If you are using the URL field,
then the steps to update your logo image are:
- Browse to a page on your site that contains the image you would like to use
as your logo.
- Right click on the image.
- Select "Properties", that will popup a window showing the image properties
including the image url.
- Click your left mouse button and hold it down while you drag it across the
image url text.
- Once you have selected all the text of the url, then hold down the Control
button on your keyboard and hit "C" key. That will copy what you have
highlighted to your clipboard.
- Go to your shop/owner General Settings page and paste that image url into
the field for your logo.
- Scroll down to the bottom of the General Settings page and click the Save
button.
If you are using the "File Image
Location", then the steps to update your logo image are:
- Click the Browse button and browse to the image on your computer’s hard
drive.
- Select the image and then click the Upload Image button.
|
|
Sample Background Image
 (Click (Click
here for larger image)
 (Click (Click
here for larger image)
 (Click (Click
here for larger image)
|
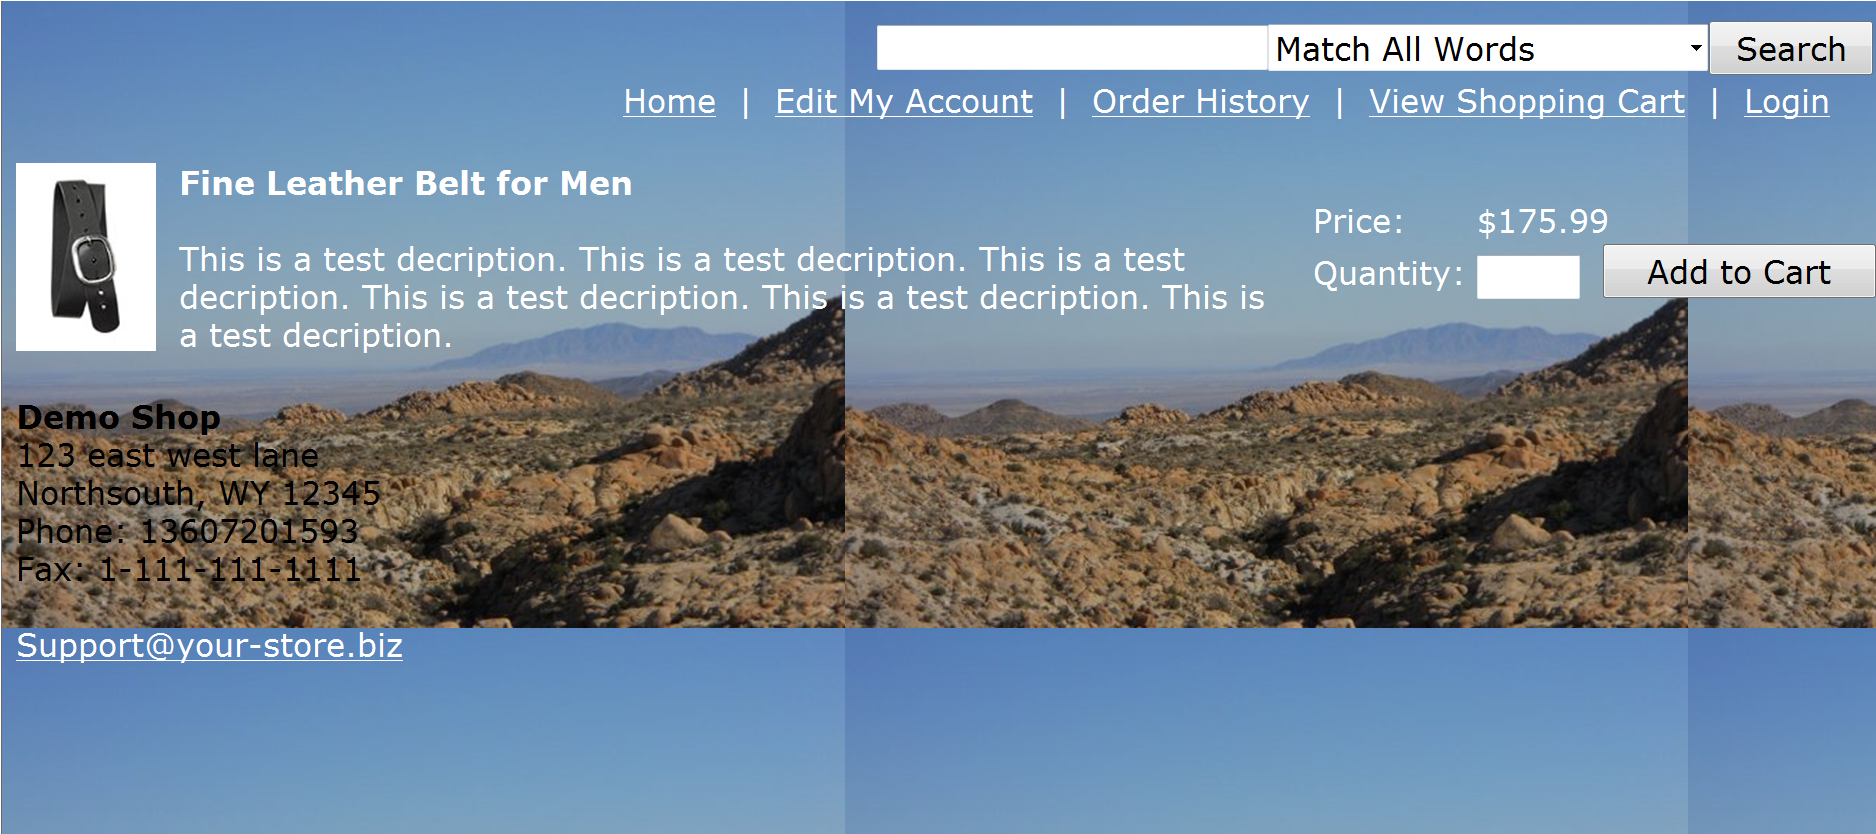
Background
You can use the "Background" field in order to specify the background color or
image to use when displaying your items within the shop. The "Background" value
is used in the shop pages when there is nothing in the "Custom HTML Header"
field, and it is used on the secure pages which do not use the "Custom HTML
Header".
Using a Background Image
To use a background image you would insert the
complete url ( beginning with http:// ) of the image that you’d like to use as a
background.
The image to the left is called background.jpg. If I set it as my background
image it would create the page that looks like what is displayed to the right.
Using a Background Color
To set a background color you would click the "Click
here to select background color" link and then select your desired background
color from the color map. Alternately, if you know the color code for the color
you would like to use, you simply type it in.
Using a Background Color for Secure Pages
The next field is ‘Background Color’ for the secure pages where your customers
will enter their credit card information. Since this is a secure page, your
background image cannot be displayed there because it is not secure (http:
address vs. https: address). In this example, I set the background color to
#666666 (grey) (see picture to the right) and the result is the checkout screen
displayed at the right.
|
|
(Click here for larger image)
|
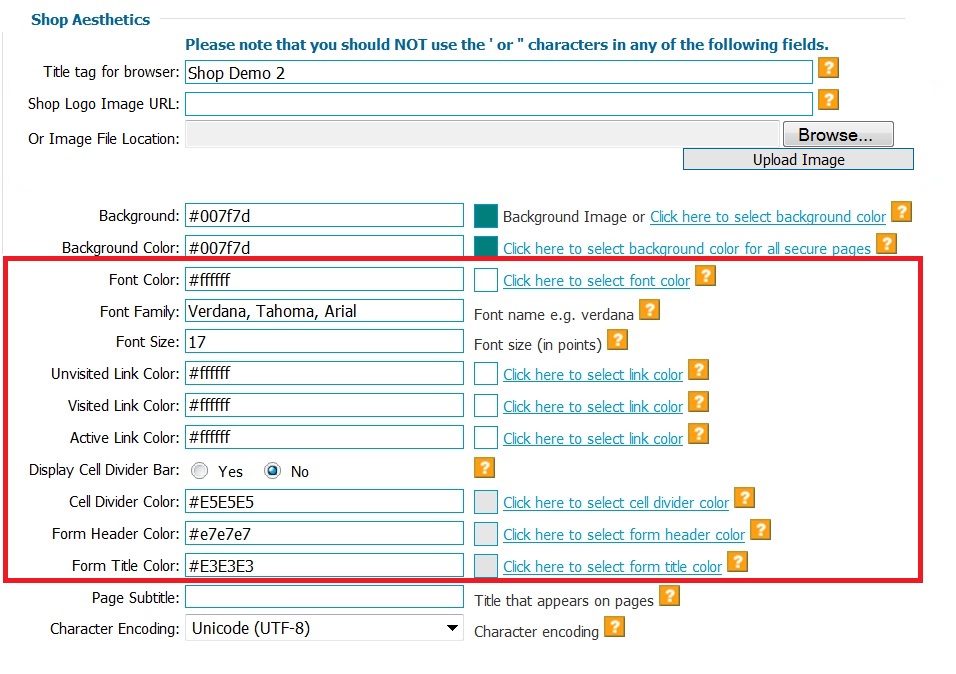
Font, Link, Cell, & Form Options
It is IMPORTANT TO NOTE that most of this information is overwritten by
entering custom header information. SO, if you plan on using the custom header
and footer information, the information entered in these fields will not matter.
To the right of the color fields are links that state ‘Click here to select link
color’. When you Click on them, a color pallet will ‘pop-up’ as shown to the
right. Simply Click on the color you wish to use and it will enter that info the
appropriate field for you. Or, if you know the color code you wish to use,
simply type that into the field directly.
|
|
(Click here for larger image)
|
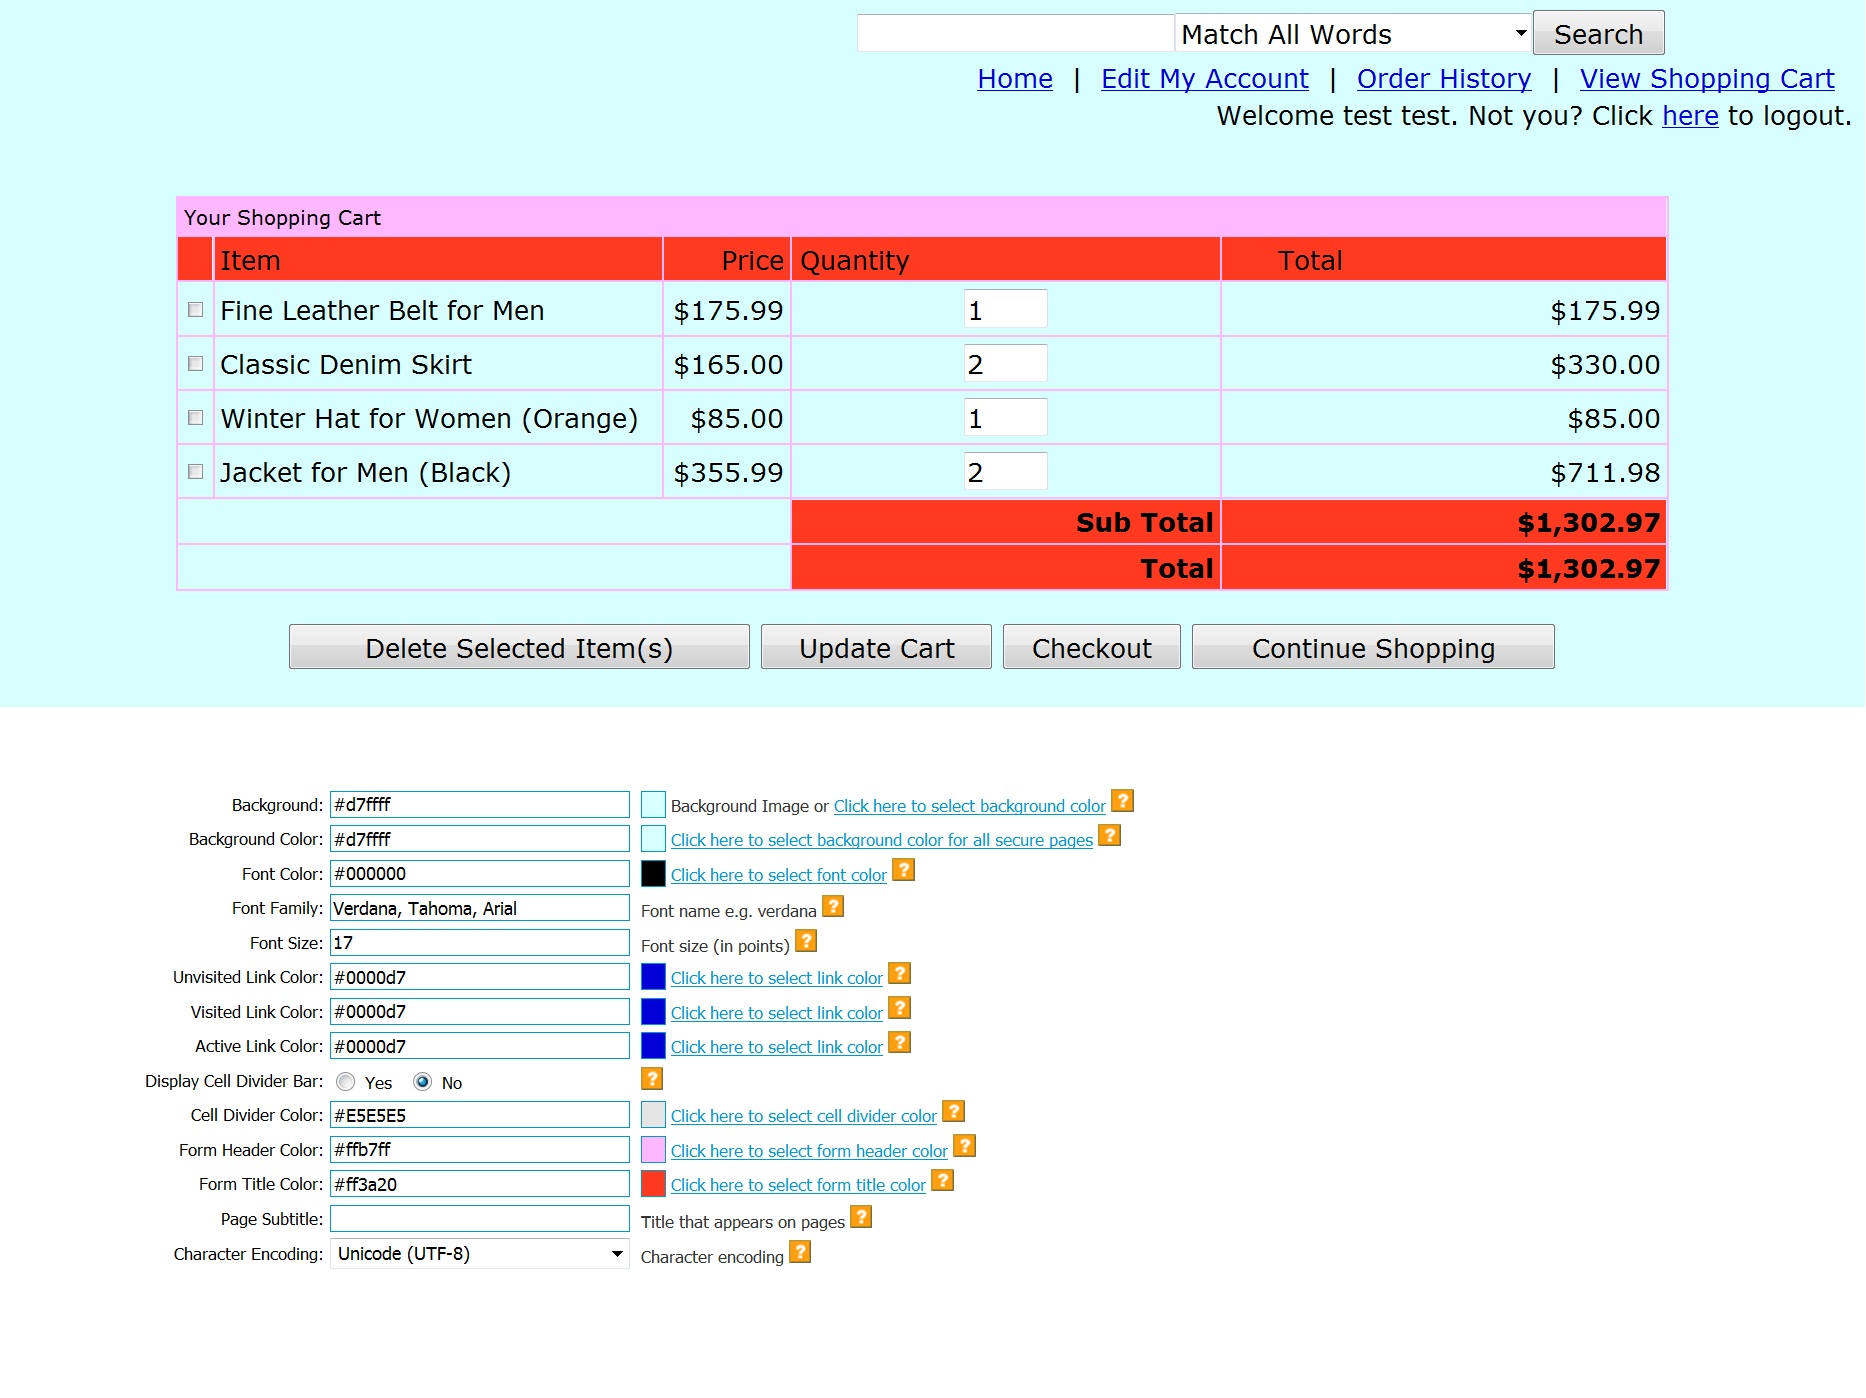
Color Guide
To the left is a visual of how the colors correspond to an
actual shop.
A few tips:
The Form Header Color does not appear on the item pages, but
rather on the checkout and following pages. It is important to note if you
choose a color for the Form Header Color similar to the Font Color that the type
in the Form Header Field will not show up and your customers may be confused.
Finally, the Form Title Color is the secondary row on the forms. Again, it is
important that this color is not closely matched to your font color.
|
|
Page Subtitle
The "Page Subtitle" field appears on your shop page. It is on the same line as
the "Home" and "View Shopping Cart" links. The "Page Subtitle" appears on the
Billing Information and Checkout pages, and, if you are not using the "Custom
HTML Header" field, then it also appears on the item display pages, and the Cart
page (the page that shows up after you click the "Add To Cart" button for an
item). You could use the subtitle line for text like "The best selection of
…", etc. Or, this field can be left blank.
Character Encoding
The "Character Encoding" field is used
to specify the character encoding for the shop display. A good selection for the
Character Encoding is "UTF-8" as this will work with almost all languages and
special characters: e.g. the copyright character.
|